
So - grab a cup of tea ( or A Dr. Pepper) and look at all my pretty pictures.

First I cut 12 1/2 inch squares of red a white fabrics. I stacked them in stacks of 4, alternating a Red, White, Red, White ( or fabrics that kind of read that way)


Then I chose a random number - 3 inches, and cut it off two edges, and moved the edges out.

next I cut 3 inches off the top of the rectangle, and moved them off - just a little bit thought.
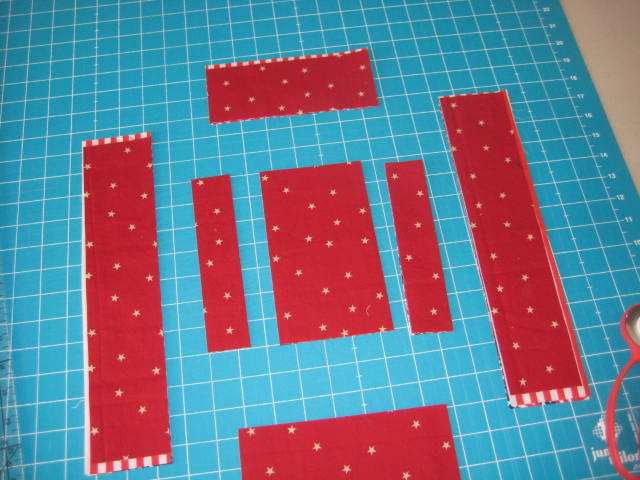
For the second round of cuts - I chose 1 1/2 as my magic number, and sliced 1 1/2 inches off of the edges. Again - just slid them away from the center - just a little!

Then I took 1 1/2 inches of the top and bottom as well, and was left with a nice square for the center.

Next I needed to rotate the fabrics, so for the inner round I took the top layer off and shifted it to the bottom layer.

For the second round, I moved the top two layers to the bottom.

Then I sat down and started sewing, until the first child showed up to breakfast.

I sewed and pressed until the first round was sewn on. And then I realized the disadvantage of this method, there would be fabrics hanging over and needing to be trimmed....because when you sew using a 1/4 inch seam.... there is shrinkage. Umm I mean the math doesn't add up perfectly - cuz of the seam allowances.

And then we started on the second round.

And because I am kind of lazy, I didn't trim the little extra peices out, and I just lined up the fabrics as best I could and sewed!
And ..... tada.........

Here are 4 finished blocks - that need to be trimmed up.... and so I did. The original peice of fabric was 12 1/2 inches square. When I squared them up at the end - they squared up to 10 1/2 inches.
For each stack of 4 fabrics I changed up the measurements so the blocks look a little different.
I cut 12 lights and 12 darks - and will end up with 24 blocks. In me head that setting will be 4 x 6 and will come out to approximately 40 x 60. To get it to Quilt of Valor size I need to make some pretty cool borders.... any suggestions?
13 comments:
Thanks for sharing your design process!
I like this... very cool blocks...
Aren't you clever. Great process. As far as borders I always go for the most simple just to get it done so I'd probably go with a skinny solid white then a blue of some kind.
I love starting with squares and whacking at them, mixing them up and sewing but I probably wouldn't have worried with the measuring part...and I like angled cuts too.
Not sure where I'd go with the border my first thought involved blue but guess doesn't work for a red quilt. Maybe some type of piano key or smaller frames square?
One of my favorite borders is always flying geese.... I know time consuming, but oh so great looking in the end!
It might be easier to just make more blocks than borders, but you could just do the usual small stop border, then larger border strips. A checkerboard might be good. Nice process, thanks for sharing.
Such sweet simplicity... ;0) Love it!
As for the borders; keeping with the simplicity and to tie in the look of the blocks; I'd probably stagger three borders; small RED inner, big "lighter" middle-outer, biggest RED final outer border :0)
Very nice looking on your big red.
OOOOO I have several layer cakes I may just try this with. The finished square won't be as large but that's okay too! Thanks!
Thank you for this tutorial! I am going to use it to make some QOV quilts.
It is easy! Wrote this one down to make in the future! Thanks for the tut!
Hi Alycia,
Whatever border you choose, it will be great. I might go with either a 4 patch or 9 patch to continue the square look or friendship stars.....Some funky border would work too!!
Have fun,
Someone will love it!
Lynn
Just saw this again, and really like the idea! Thank you for sharing!
Post a Comment